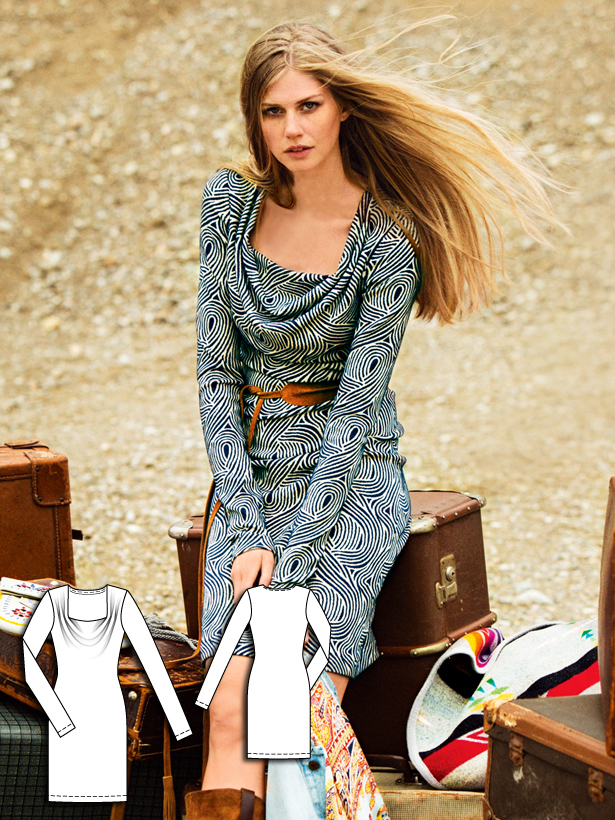
Well I finished my dress this morning so I finally feel like I've accomplished something this week other than work! I made it all pattern free which is what I prefer, some how it is always quicker and things fit better.
Here it is below, I will go through what I did step by step.
Saturday evening I cut out the pieces for my cowl neck dress, I used a tunic dress that I already have for the shape but I had to fold in the bottom at the sides as I cut it as it was an A-line and I wanted this dress straight.
I also wanted long fitted sleeves so I used a long sleeved T shirt that fits me well to get an idea for the sleeves.
In the picture you can see pins I trace the shape of the neck line by feeling through the original garment and putting pins in place, after I am certain it is correct I cut close to the pins. I also do this if I need darts or other markings sometimes. no darts in this one as it is so stretchy.
Here I laid on my t shirt with the top of the sleeve to the fold of the fabric, then feel through again and mark with pins the curved shape of the sleeve at the arm hole. Cut around the rest allowing for sleeve hem. When you have done one place it on the fold of the fabric again and just cut around to get your second sleeve.
Right sides together I cut out the shape for the cowl neck the tunic I used had quite a big cowl but as this is a smart dress I made this smaller. I stitched them down both sides then fold it out so it is the right way, but folded over.
Sew all pieces together, notch sleeve pieces at the top on the fold so you can pin at the shoulder before you sew, if you are using stretchy jersey it is very forgiving when you set in your sleeves any way.
When I sewed in the cowl I put right side of cowl to right side of dress sewed all around then folded it over to the inside then sewed it there, but you have to do half way around, pull through and do the other half. You have to leave a little gap for pulling through and finish that bit by hand. ( Sounds confusing but if you have sewn linings in jackets you will get what I mean.)
Here the neck is ok on the dummy but I found when I tried it on it hung funny unless you arrange it as the fabric is quite heavy. I put a jacket on and took it off to test it and the neck was all over the place again. Now you don't want to go out and be faffing around with your collar when you take off your jacket. I knew that would drive me crazy! So I decided I would stitch it invisibly in place catching only the under layer of the cowl. That way if I take off my jacket my collar should survive! I also did a little stitched fold at the back of the neck as that was the area that was annoying me the most.
Here it is with a pin in it while I tested, maybe more of a back v but the messy look was not doing it for me.
Here the neckline had pins in while I hand stitched it on the inside to keep that collar where I wanted it. I think maybe it would have hung better with a different fabric, something more floaty as this fabric stood out quite stiff once it was doubled so maybe that was why I didn't like the effect when it was loose. I will definitely try this neck again but in a different fabric.
Below is the original dress that gave me the idea, I have noticed that on that one the cowl doesn't continue at the back of the neck also the neck shape was more of a square with a bigger cowl hanging down at the front. Something for me to try next time.


